
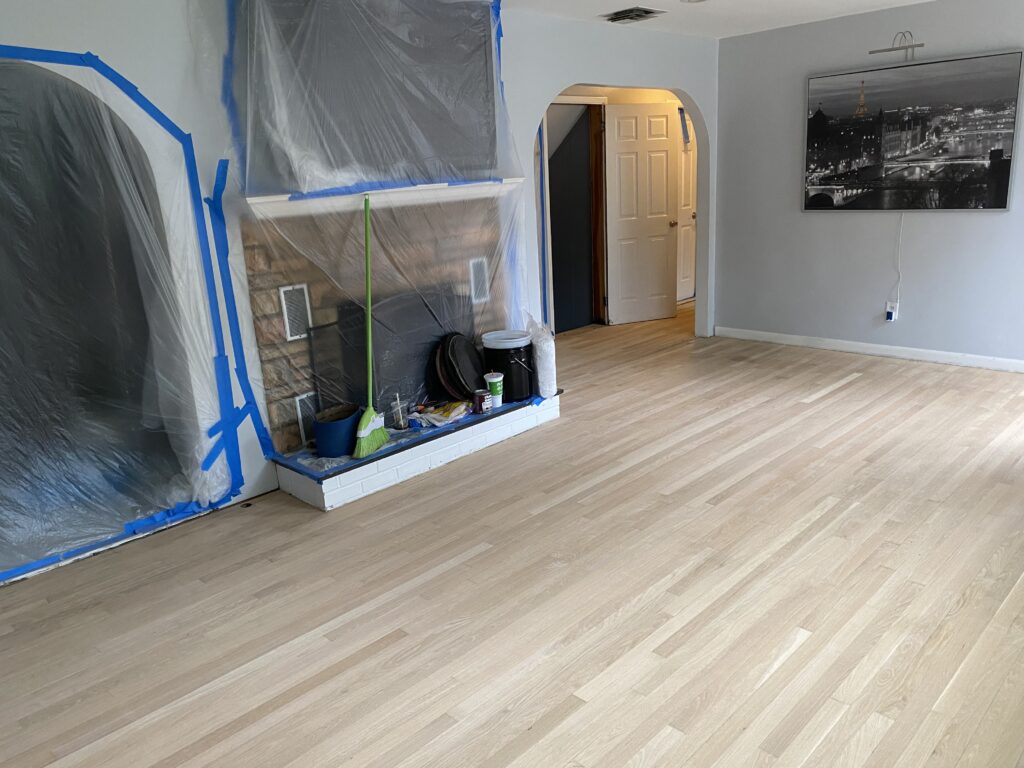
- Prepare the wood Floors for Refinishing
Take the following steps before refinishing Hardwood floors.
- Move the furniture and pull up any carpeting or rugs in the room.
- Hammer down protruding nails. Find protruding nails by sliding the blade of a putty knife across the floor.
- Check for squeaks and secure loose floorboards with finishing nails.
- Remove debris on the floor with a vacuum cleaner or mop.
- Seal air vent covers to prevent dust caused by sanding from getting in your ductwork. Use plastic sheeting to seal doors to keep dust from the rest of the house.
- Pull Up the Shoe Base Moulding
Before floor refinishing with a sander, you should pull up the shoe base moulding along where the floor meets the wall.
- Pry up the moulding with a pry bar, using a piece of scrap wood to protect the baseboard.
- Number or otherwise label each piece as you remove it to make it easier to put it back after refinishing the floor.
- Rough-Sand the Floor
Sanding eliminates scratches and stains from a hardwood floors, but may not be able to alleviate the deepest gouges or discolored patches of wood.
- Begin by using a drum sander or belt sander with the grain along the length of the boards.
- Always wear a dust mask, safety goggles and ear protection when using a drum sander.
- Work the drum sander back and forth over 3- to 4-foot lengths.
- Use overlapping strokes by at least 1/3 the belt width to remove scratches.
- Start with coarse sandpaper of 36 to 40 grit, progress to a medium 60-grit paper and finish with a finer 100 grit. Do not skip the progression from coarse grades to finer grades.
- Replace the abrasive belt after sanding about 250 square feet for most effective results.
- Sweep and vacuum the flooring to remove dust and debris between sanding with different grades of grit.
- Sand the Edges and Corners
Use a floor edger or small orbital sander to sand corners, edges and small areas such as closet floors, bathrooms or stairs.
- An edger can be difficult to control, so practice your technique on scrap wood first.
- As with the drum sander, start with course-grit paper and then move to finer grades.
- If the flooring has small areas that even the edger cannot reach, use a scraper and some 80- and 100-grit sandpaper to remove the old finish by hand.
- Screen Sand the Floor
Next, use a floor buffer fitted with a fine-grit screening pad to “screen-sand” the flooring.
- This type of sanding will level minor unevenness left by the drum sander and edger as well as buff away sanding scratches. This fine-detail work can make your DIY project look more like a professional job.
- Be prepared for the buffer to swing to the right or left depending on how you position the handle, making broad arcs across the floor to get a smooth surface.
- Remove All Dust
Thoroughly sweep and vacuum the Hardwood floors and then follow up with a tack cloth to remove all the dust that you can. Dust and hairs can leave imperfections in the floor finish.
- Apply the Wood Stain
If you want to change or improve the floor color, apply a stain.
- Choose an interior wood stain based on the color you desire and the type of hardwood floors you have.
- Apply the stain with a foam applicator pad in the direction of the wood grain.
- Work one manageable area at a time, such as four square feet.
- Many manufacturers recommend removing excess stain as you go, usually a few minutes after application.
- Use clean cotton cloths or paper towels to remove excess stain. Some finishers prefer wiping the floor with a cotton cloth wrapped around a dry applicator pad.
- Allow the stain to dry according to directions before applying the finish.
- Apply the Finish
Choose a protective coat of wood finish, weighing the following factors.
- Water-based polyurethane wood finishes or lacquers dry quickly, which can pose challenges during application.
- Oil-based polyurethane wood finish dries more slowly, providing more time to ensure a smooth coat, but the fumes may require wearing a respirator during application.
- Popular wood oils include Danish oil, teak oil, tung oil, cedar oil, ipe oil and mineral oil for wood.
Follow these steps when applying the finish.
- Apply the finish with a lamb’s wool applicator in smooth, even lines while avoiding drips.
- Consider three coats of oil-based finish or four coats of water-based finish.
- When each coat dries, sand the floor lightly with 220-grit paper or #000 steel wool. Many finishes take 24 hours to dry.
- Vacuum up the dust and apply the subsequent coat.
- When the finish is dry, reattach the shoe guard moulding.
Book an appointment by using this link here