Hardwood floors are a timeless addition to any home. They add beauty, warmth, and value, but over time, even the most durable hardwood can begin to show signs of wear. If your hardwood floors have become scratched, dull, or discolored, refinishing them can restore their original luster and extend their life. But here’s the big question: Can you refinish hardwood floors yourself?
The short answer is: Yes, you can — but it requires time, effort, and the right tools. Refinishing hardwood floors can be a challenging but rewarding DIY project. If you’re up for the task, here’s a step-by-step guide to help you achieve professional-looking results without the professional price tag.
What You Need to Know Before You Start
Before diving into the refinishing process, it’s important to understand what refinishing entails. Refinishing hardwood floors involves sanding down the existing finish to expose the fresh wood beneath, and then applying a new stain and finish to protect and beautify the surface. The goal is to restore the floor’s original look, not to completely replace it.
Can You Do It Yourself?
Refinishing hardwood floors is a project many homeowners tackle successfully on their own, but there are a few factors to consider:
- Floor Condition: If your floors are severely damaged (e.g., deep gouges, extensive water damage, or warping), refinishing may not be enough. In that case, replacement or professional repair may be necessary.
- Time and Effort: Refinishing takes several days of work, especially if you’re tackling multiple rooms. It can be messy, loud (due to sanding), and physically demanding.
- Equipment: You’ll need specialized equipment, including a floor sander, sandpaper, and a finishing system. Renting these tools from a hardware store can help save money.
- Skill Level: The more skilled you are with DIY projects, the more likely you’ll be able to tackle refinishing successfully. However, even beginners can do it with patience and attention to detail.
Step-by-Step Guide to Refinishing Hardwood Floors Yourself
1. Prepare the Room
Start by removing all furniture, rugs, and any other objects from the room. You’ll also need to remove any nails, staples, or fasteners sticking up from the floor. Clean the floor thoroughly to remove dust, dirt, and debris.
2. Rent the Right Equipment
For the best results, rent a drum sander for large areas and an edging sander for the edges. These sanders can be found at most hardware stores. You’ll also need various grits of sandpaper:
- Coarse (36-40 grit) for the first round of sanding
- Medium (60-80 grit) for the second round
- Fine (100-120 grit) for the final pass
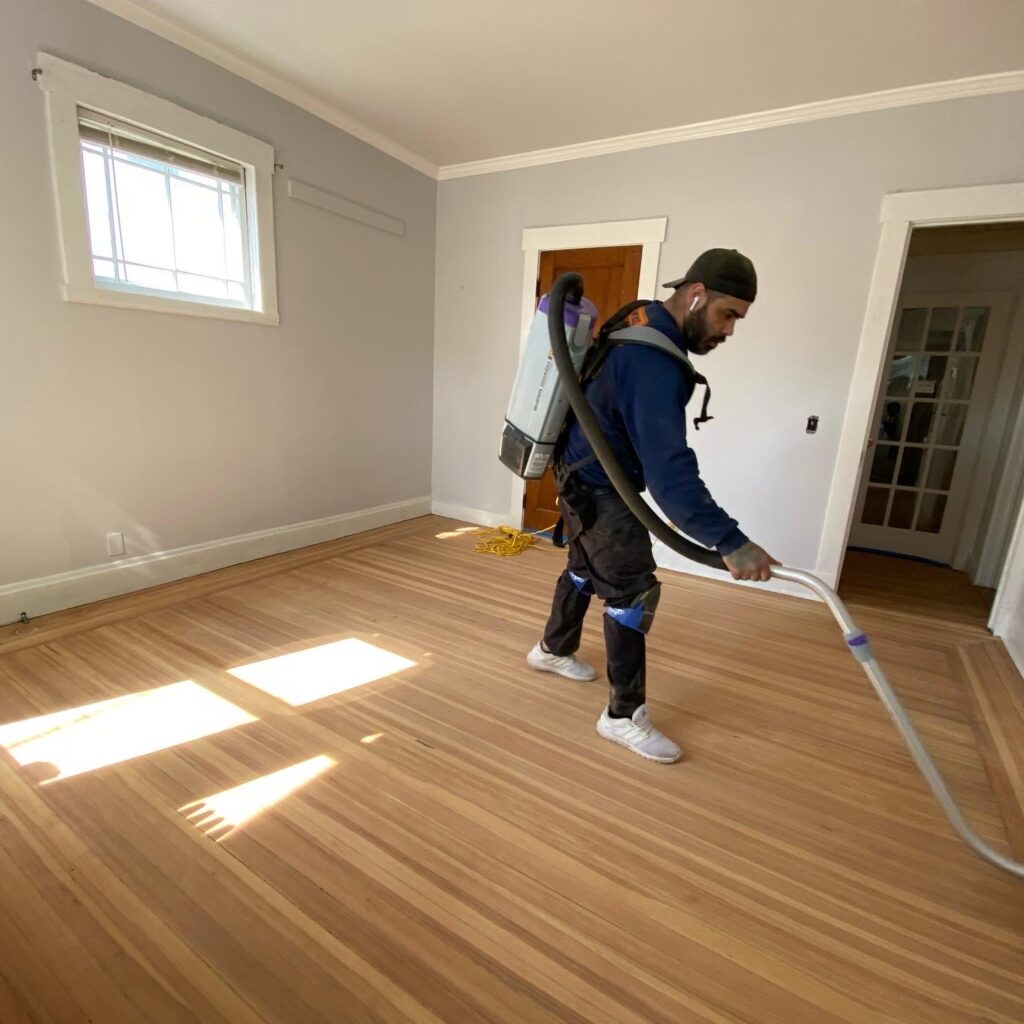
Make sure to also get a vacuum or shop vac to clean up the dust as you go.
3. Start Sanding
Sanding is the most time-consuming part of the process. Begin with the drum sander on the main areas of the floor. Move slowly and steadily across the floor, keeping the sander in motion at all times. If you stay in one spot too long, you could create uneven spots.
For the edges of the room, use the edging sander. These are smaller, handheld devices designed to get into the corners and along the baseboards. You may want to practice with the sanders on a scrap piece of wood first to get the hang of the equipment.
4. Clean the Dust
Once you’ve sanded the entire floor, vacuum up all the dust. It’s critical to get every speck of dust off the floor before applying a new finish. A clean, dust-free surface is essential for the best results.
5. Apply Stain (Optional)
If you want to change the color of your floor, you can apply a wood stain. Use a brush or a clean cloth to apply the stain evenly. Work in small sections to ensure you don’t leave any streaks or blotches. Be sure to wipe off any excess stain before it dries.
Allow the stain to dry completely before moving on to the next step.
6. Apply the Finish
Once the stain is dry (if applicable), it’s time to apply the protective finish. You can choose from several types of finishes:
- Polyurethane: This is the most common and durable option. It comes in oil-based or water-based versions, with oil-based finishes offering a deeper color and longer drying time.
- Water-based poly: Offers a faster drying time and is less smelly, but may not provide the same depth as oil-based options.
- Aluminum oxide: A newer finish that’s even more durable than traditional poly finishes.
Use a clean, high-quality applicator (such as a lamb’s wool applicator or a microfiber mop) to apply the finish in thin, even coats. Apply at least two to three coats of finish, allowing each layer to dry completely before applying the next.
7. Allow the Finish to Cure
After your final coat is applied, let the floor cure for 24–48 hours before walking on it. It may take a week or more for the floor to fully cure, so be sure to protect the surface from heavy traffic during this time.
8. Enjoy Your Newly Refurbished Floors!
Once the finish has fully cured, replace the furniture, and enjoy the fresh, glossy look of your newly refinished hardwood floors.
Tips for a Successful DIY Hardwood Floor Refinishing Project
- Test before you start: Always test your sanding method and stain on a small, inconspicuous area of the floor first.
- Work in a well-ventilated space: Sanding and finishing can release a lot of dust and fumes. Open windows and doors or use fans to keep the air circulating.
- Don’t rush: Take your time during the sanding and finishing stages. Mistakes can be costly to fix.
- Consider professional help: If you’re unsure about any part of the process, or if you don’t have the time or equipment, it may be worth consulting a professional for some guidance or assistance.
Final Thoughts
Refinishing hardwood floors yourself can be a satisfying project, and it can save you a significant amount of money compared to hiring a professional. While it requires patience, precision, and the right equipment, the end result will be a floor that looks as good as new, adding beauty and value to your home.
So, can you refinish hardwood floors yourself? Absolutely! With the right preparation and care, your DIY refinishing project can be a success that transforms the look of your floors and your home.
Happy sanding!